This tutorial helps you import content into your Canvas course, transferring content from one Canvas course to another. Importing a previous semester’s section in Canvas to your new section makes it easy to start your semester.
Transcript (pdf) (478 KB)
Steps to Import:
- Select the empty course. (Step 1)
- Click Import Course Content on the right sidebar menu. (Step 2)
- In the Content Type menu, select Copy a Canvas Course. (Step 3)
- Locate & select the course you want to copy content from in the drop-down menu. (Step 4)
- Choose what you want to copy. (Step 5)
- Choose to manually shift events and due dates or have the system shift the dates. (Step 6)
- Click Import. (Step 7)
Step 1 – Select the Empty Course
Select the empty course that you would like to import content into. For example, you may want to select your upcoming course section before the start of the semester.
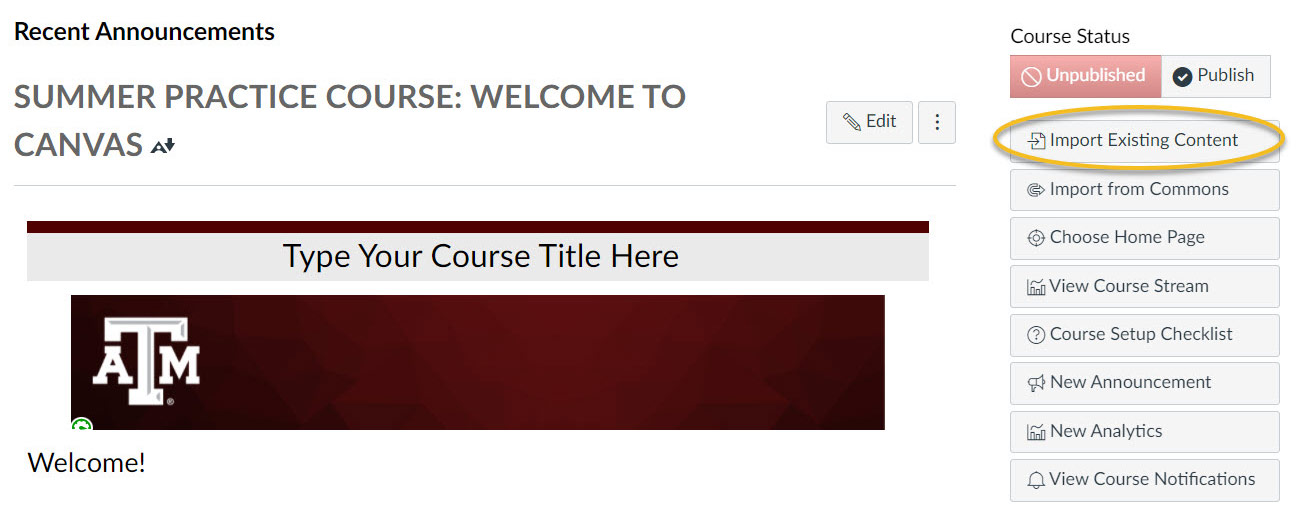
Step 2 – Import Course Content
Once you are inside the empty course, click Import Course Content in the sidebar menu on the right of the screen. You may also have to scroll down depending on your display settings.
You can also find the Import Course link within the settings page (linked on the course navigation menu) on the right-hand side.
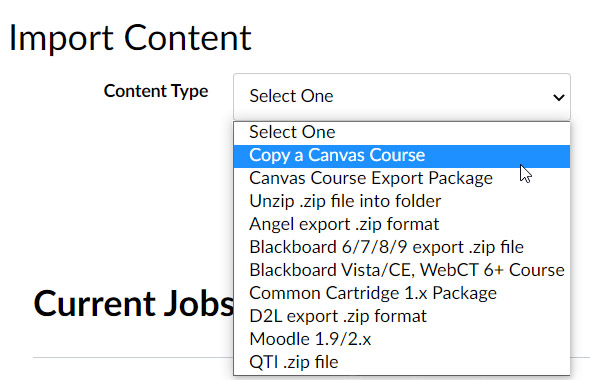
Step 3 – Copy Canvas Course
In the Content Type menu, select Copy a Canvas Course.
You also have the option to import a package from Blackboard if you still have an export package. (Choose “Blackboard 6/7/8/9 export .zip file” in that case.) If you have a ZIP file of test banks from a publisher you want to import, select “QTI .zip file.”
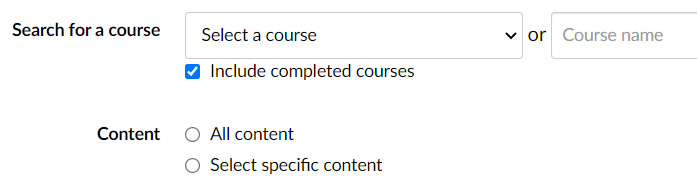
Step 4 – Locate the Course to Copy
Once you select Copy a Canvas course, you will have the option to locate and select the course you want to copy content from in the drop-down menu, or you can try typing the course name in the textbox.
Step 5 – Choose What to Copy
Choose what you want to copy. You can copy All content and clean up the material you don’t want, or you can Select specific content to import.
For example, select only quizzes if you only need the quizzes and quiz banks from your past course. Select All content if you want to import everything from the previous course.
Step 6 – Shifting Dates
Under Options, you can choose to manually shift events and due dates or let the system shift the dates. Double-check your due dates and availability dates even if you have the system shift dates for you.
Step 7 – Click Import
You are now ready to click Import. Once the import is complete, you should be notified via email and see the material in your course.
Check your Home page, modules, and assignment areas for your content, and look for any duplicated material. You are likely to see modules from the template more than once if you did not delete them from your new or previous courses.

Leave a Reply